
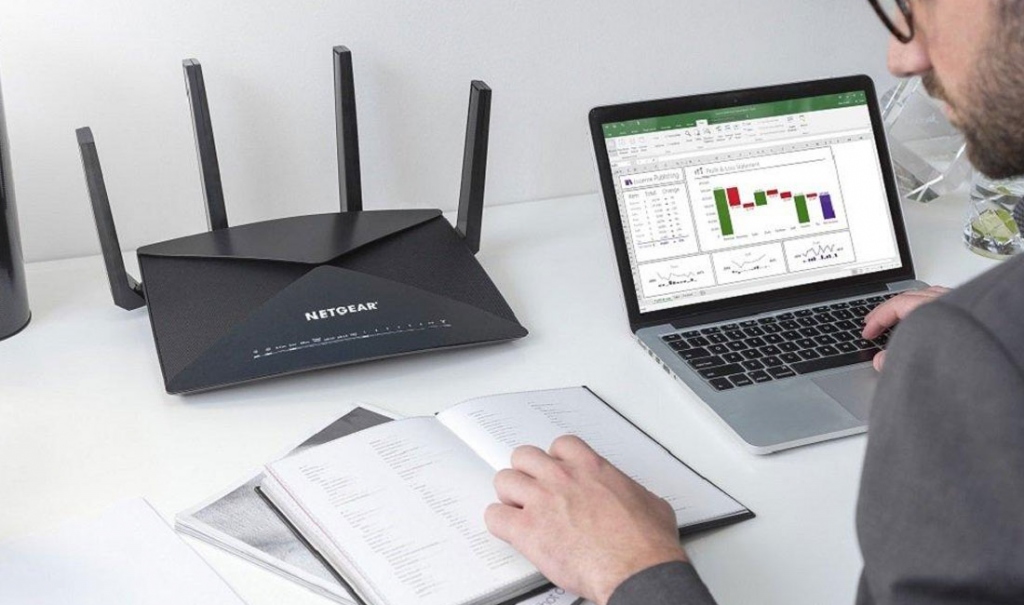
Home networks keep smart devices like tablets, mobiles, printers, laptops, and desktops connected with each other. It makes it easier to share and print files, access the Internet, and shop online than ever. However, setting up a home network can impact the security along with the efficiency of your devices. That’s why we have come up with this how-to tutorial which will guide you throughout the setup process of a network via new extender setup. Let’s dig a little deeper.

Prerequisites
- A modem
- A wireless router
- A reliable Internet connection
- Multiple devices to connect
As soon as you have these things, you are all set to install a home network via extender setup.
- Set up a modem
In order to install and configure a modem, plug in the designated cable to modem firstly. You will notice various lights on it namely send, power, receive, PC/activity, and online. When the send, as well as receive lights, blink, it means that the modem is trying to communicate with your Internet Service Provider. After some time, the online light will also become visible. This indicates that your device has successfully connected to ISP.
Alternatively, in case no light blinks, make sure you have plugged it correctly while performing Netgear extender setup. In case you still find no LED lights visible, wait for a few minutes and then unplug it and plug it back again.
Also, try to insert its wires into another wall plug. Or else, take a professional help from knowledgeable technicians.
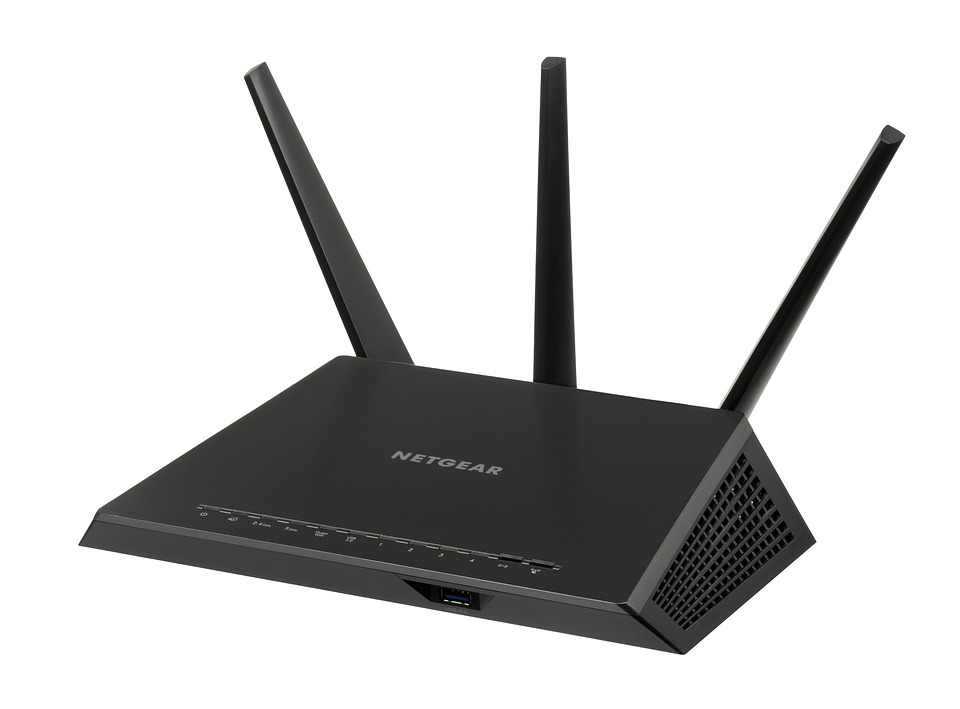
- Set up WiFi router
Once you are done with the modem setup, remove the power supply from it. This is a very important step to set up a home network with WiFi range extender setup. First of all, reset it to default factory settings. You can press the reset button with the help of a paper clip or pin. Doing so will remove all your modified settings and give the router a fresh start.
Use an Ethernet cable to make a connection between modem and router. You can insert it into one Ethernet port of the modem. Insert other ends of a cable into the Internet or WAN port of a router.
Connect a PC to one LAN port of a router. Next, turn on the router and log in through mywifiext.net the setup process is quite same as that of wireless extender setup.
One can change settings of the router via Netgear genie setup. To do so, open a web browser on your desktop or laptop. In the address bar, enter the URL. Instead, you can also enter the default IP address to access it.
Check for network name, password, network mode, security mode, SSID broadcast settings. Make sure to create a secure password and SSID for your network so that no one can hack it.
Apply all the required settings to your network. Use WPA2 encryption to avoid hijackers from stealing your precious data. Also, ensure to change the default password. Make use of wireless Mac filtering and do not broadcast your SSID. Limit the devices that are connected to your network.
In case your router has the ability, then add another security layer.
- Connect your devices
As soon as you install new extender setup to install a home network, start adding your devices to it. You can then connect them to the available WiFi network. The devices one can add and connect to it are Android phones, iPhone, iPad, iPod, desktops, laptops, Windows computers, as well as Mac devices. All you have to do is merely select the network you want to connect to. Then, enter username and password. When you entered correct details, you can easily connect to it.
In this way, one can easily set up a home network with WiFi extender setup. If you face issues while setup process, feel free to drop them in the comments section given below.